So I have some .05" thick x 2" wide black ABS strips and thought I'd try using that as purfing along with the laminated binding that I got from LMII.
I ended up using a 3d printer to make a binding trimmer to work with that thickness after I cut a couple of strips of it on the band saw.
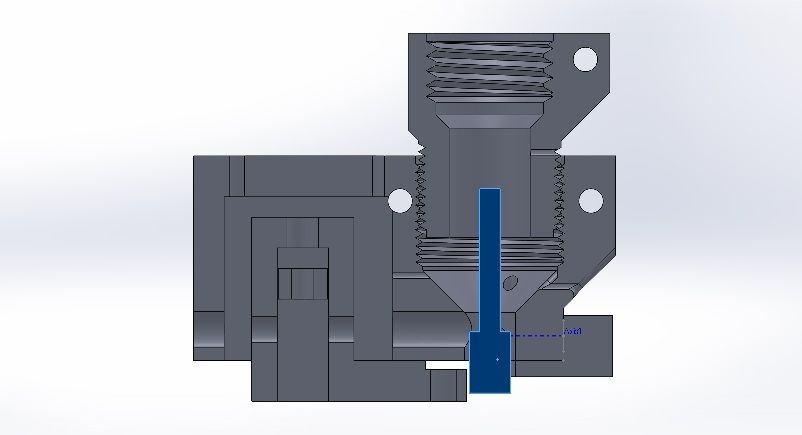
Here's a section view, the blue part is the 1/4" router bit for the dremel. The little opening to the left of it is where the binding passes through the jig.
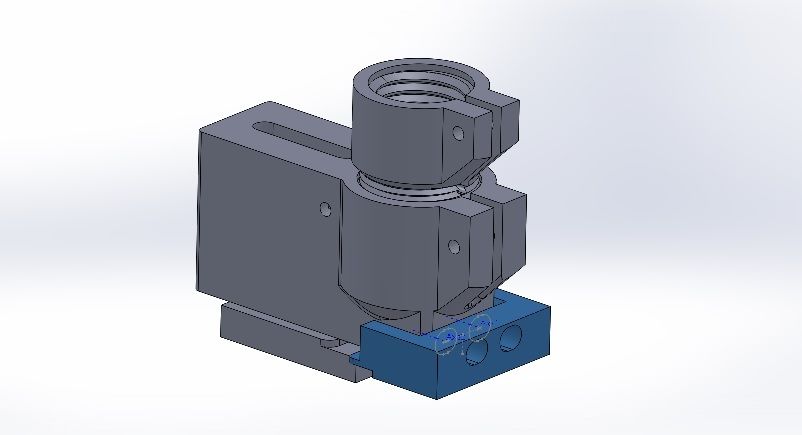
This highlighted piece is the spring loaded piece to keep the binding up against the control edge
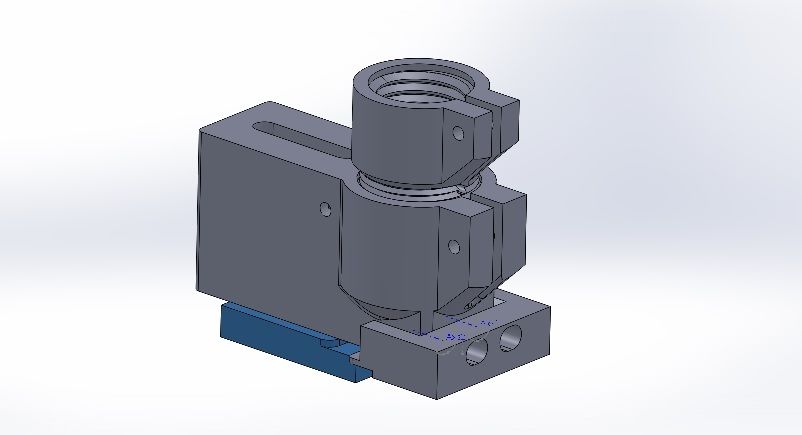
This highlighted piece is adjustable with a 10-32 screw. So 1 full turn is 1/32" of adjustment.
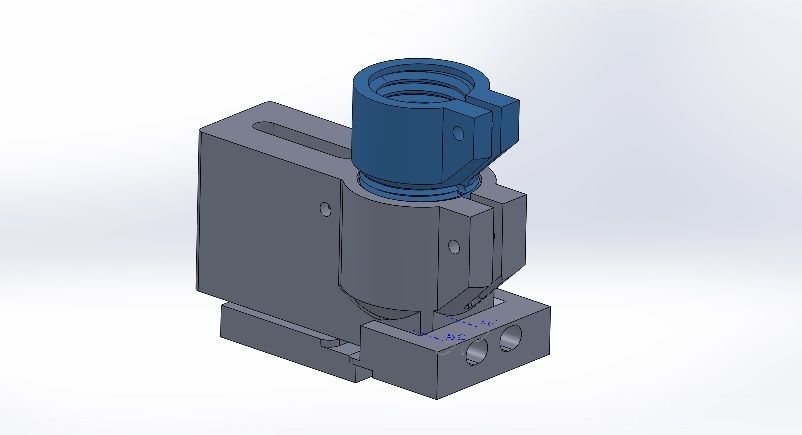
And this one is the adapter for the dremel. It is kind of an extra piece but I had already modeled it from the binding slot jig that I had made already.