
I've been building and acquiring the jigs and tools needed to build acoustic guitars over thee last 7 or 8 months.
I now have radius dishes, a brace sander, and a plate joiner.
I also built a neck mortising jig, a go-bar deck, and a side bending machine.
One thing I haven't read much about, or seen on videos, is the shape of the side before bending.
Most acoustic bodies taper in thickness from the bottom to the top, and I realize the sides must be cut into a shape that is at least close before bending.
At least I think it is before bending!
I am imagining that the neck end measurement would be carried to the beginning of the shoulder, and then tapered to the rear of the rear shoulder. From there it would be the width needed across the bottom.
Can anyone help me with the process?
Side (rib) Cutting Pattern?
-
Gordon Bellerose
- Posts: 1186
- Joined: Wed May 30, 2012 11:47 pm
- Location: Edmonton AB. Canada
Side (rib) Cutting Pattern?
I need your help. I can't possibly make all the mistakes myself!
-
Michael Lewis
- Posts: 1474
- Joined: Thu Jan 12, 2012 1:22 am
- Location: Northern California USA
- Contact:
Re: Side (rib) Cutting Pattern?
You can bend the sides full width and trim them afterwards. I usually cut a rough approximation of the side leaving some more material than I will actually use, and trim it with a finger plane while in the body form after the blocks are glued in.
Use your radius dish to sand off chalk marks you put on the edges of the sides. You will see the chalk is removed from the high spots, so plane those a bit and reapply chalk and sand again. Repeat until the dish fits the whole edge all the way round.
Get the top fitted first, then go at fitting the back. Once the top is fitted and you know the measurements for the neck and tail ends, mark them out and remove all the excess material using the chalk and dish method. A block plane is handy for this, or as I mentioned, a finger plane.
-
Clay Schaeffer
- Posts: 1674
- Joined: Fri Jan 06, 2012 12:04 pm
Re: Side (rib) Cutting Pattern?
I usually bend my sides before trimming them to rough dimension. I've made patterns from finished instruments on flexible plastic sheet that allows me to trace the shape of the rib onto the bent side. I then use a bandsaw to trim it to rough dimension. Because of the waist area the rib does not taper in a uniform fashion, so having a template for the side can be a big help for rough trimming. I sand the rim assembly in the radius dish to get the final form.
-
Dave Higham
- Posts: 97
- Joined: Sun Jan 08, 2012 3:35 am
- Location: Between Bordeaux & the Atlantic. S W France
Re: Side (rib) Cutting Pattern?
If it's OK to point to a thread on another forum, this is a foolproof way of doing it:
http://www.luthiersforum.com/forum/view ... de+profile
http://www.luthiersforum.com/forum/view ... de+profile
-
Gordon Bellerose
- Posts: 1186
- Joined: Wed May 30, 2012 11:47 pm
- Location: Edmonton AB. Canada
Re: Side (rib) Cutting Pattern?
Thanks for the replies guys.
The final shaping in the mold using the radius dish with sandpaper, is something I understand quite well.
The information from the other site is a good idea, and I can see that working well, perhaps saving a bit of sanding.
The tapering from heel to neck end is what I am asking about.
The body I am thinking of tapers from about 5 inches thick, to about 4 1/2 inches at the neck end.
That is a lot of sanding and planing.
The flexible plastic template is a nice idea also, but would require a body to copy from initially. The guitar I'm building is a prototype for me. After the first one, then the template could be created.
Maybe I could block the outside mold at an angle to mark the taper dimensions I want, after the sides are bent and then use the spreaders to hold them in the mold.
I realize I would still have to sand to final shape with the radius dish.
I need your help. I can't possibly make all the mistakes myself!
-
Michael Lewis
- Posts: 1474
- Joined: Thu Jan 12, 2012 1:22 am
- Location: Northern California USA
- Contact:
Re: Side (rib) Cutting Pattern?
Remove excess material with the quickest and most controllable method you have. A block plane or finger plane will work, and you can remove a lot of material in a few minutes. The biggest hurdle if you glue up sides and blocks at full width is cutting down the blocks. The sides will go rather quickly.
-
Dave Higham
- Posts: 97
- Joined: Sun Jan 08, 2012 3:35 am
- Location: Between Bordeaux & the Atlantic. S W France
Re: Side (rib) Cutting Pattern?
Whet Colin didn't mention in his tutorial is that when the body mould is on the radius dish, you block up the lower bout end of the mould by the difference in body depth between heel block and tail block.
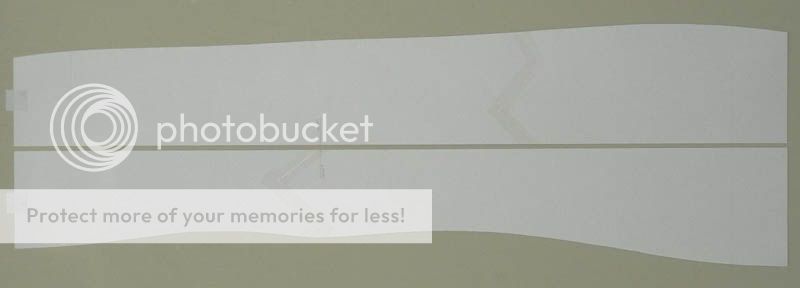
I made an acoustic bass guitar with a wedge shaped body. This meant I had to not only raise the lower bout of the mould, but also tilt the mould sideways to allow for the wedge. The templates worked out perfectly and I didn't have to do any planing of the sides after bending. They were just sanded in the radius dish. This is what they looked like.
I made an acoustic bass guitar with a wedge shaped body. This meant I had to not only raise the lower bout of the mould, but also tilt the mould sideways to allow for the wedge. The templates worked out perfectly and I didn't have to do any planing of the sides after bending. They were just sanded in the radius dish. This is what they looked like.
