Building my first Hammered Dulcimer

If it's not a guitar or a bass guitar discussion, and it's got strings, put it here.
Post Reply
ken axe
Posts: 17
Joined: Mon Sep 02, 2013 11:17 am

Building my first Hammered Dulcimer

Post by ken axe »

After much research and debate along with advice Nicholas Blanton and the great folks over at everythingdulcimer, I have started my first HD. It will be a 17/17 with a glued top based on Deb Suran's plans (#39 GAL http://www.luth.org/plans/instrument_plans.html#plan39 ).

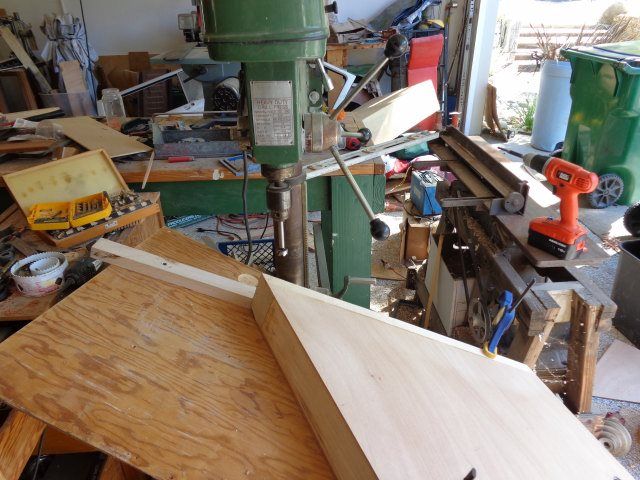
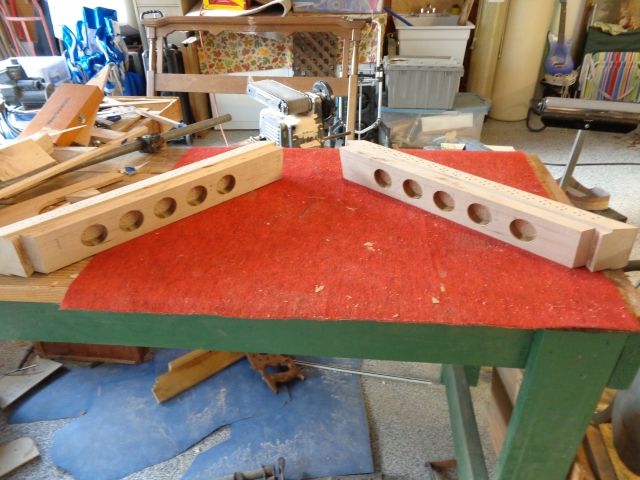
I started with the pin blocks. To be honest I had to toss the first pair I made because I tried to cut the slots for the rails on the table saw. The second time I used the band saw to cut in from the end and it worked much better. It was probably a good thing I messed up that because it gave me two pieces to test drilling for the pins. Finally settled on this. The tops of the pin blocks are beveled at 15° so I set the table on the drill press table at 18° to make sure that the strings stayed down. Then I set the fence at 34° (the angle of the pin blocks) off axis. I glued a full template of the pin locations to the pin block to keep everything in the right place (I hope). I used a piece of 1/4", 1/2", and 3/4" plywood to space out the four rows of pin holes.

Image

Image

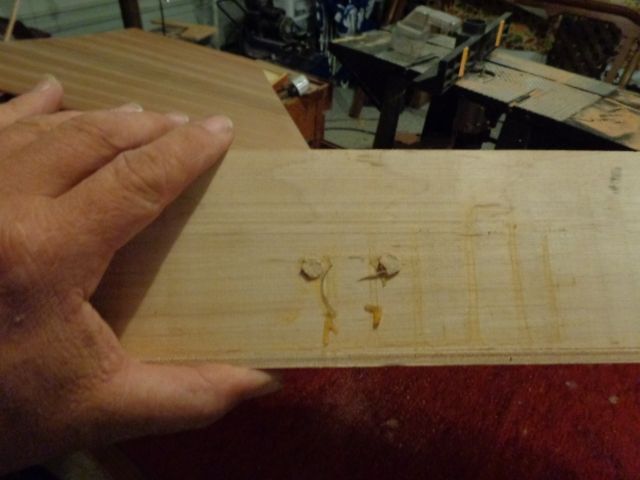
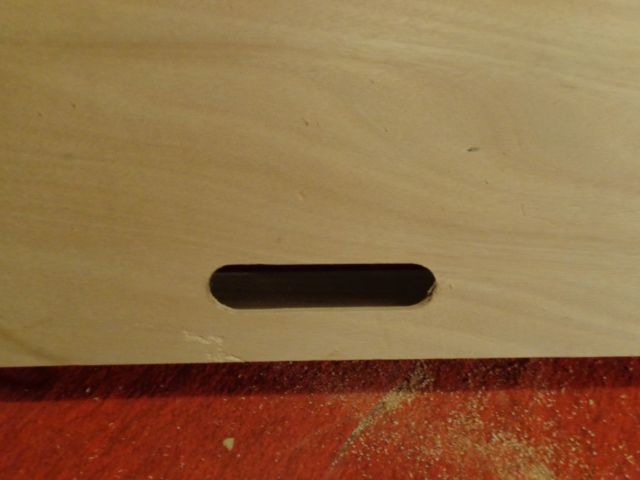
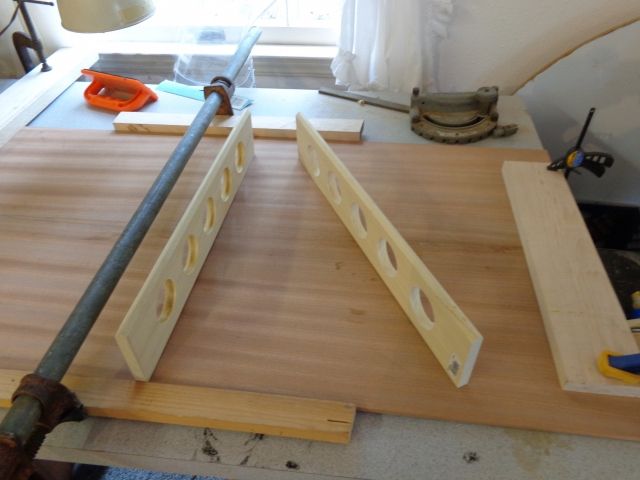
Then I got to thinking about carrying this thing around and decided that since I had overbuilt it I should remove a bit.

Image

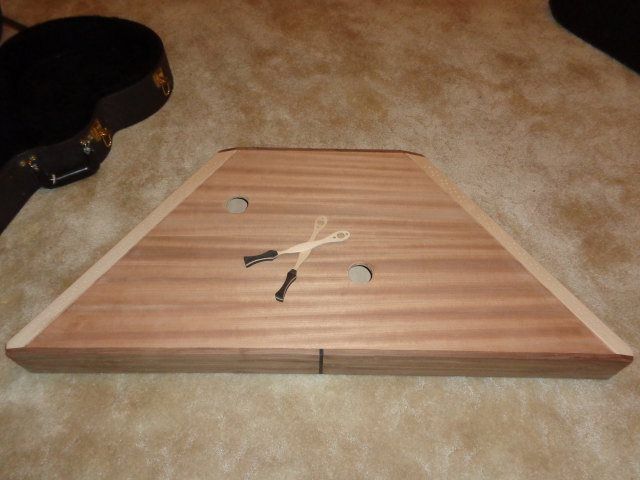
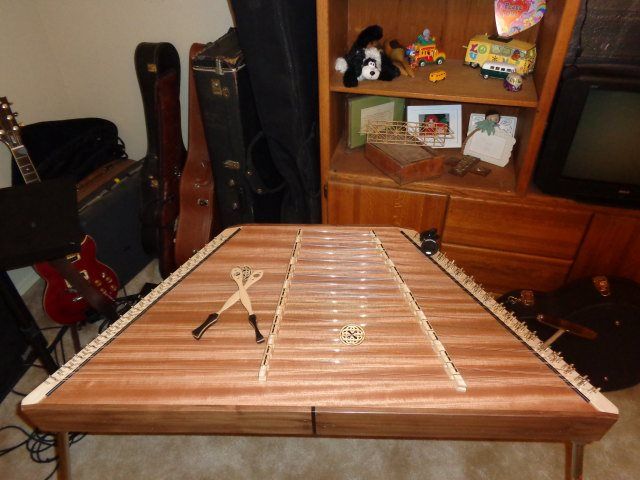
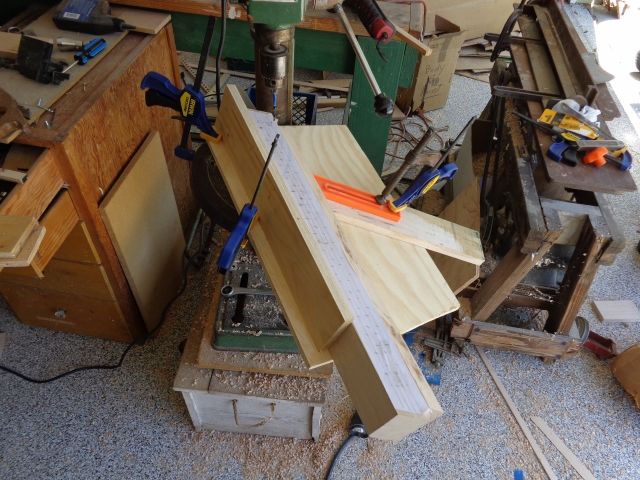
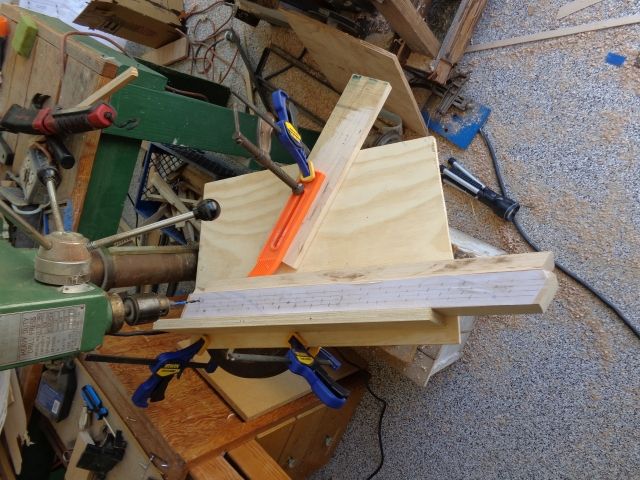
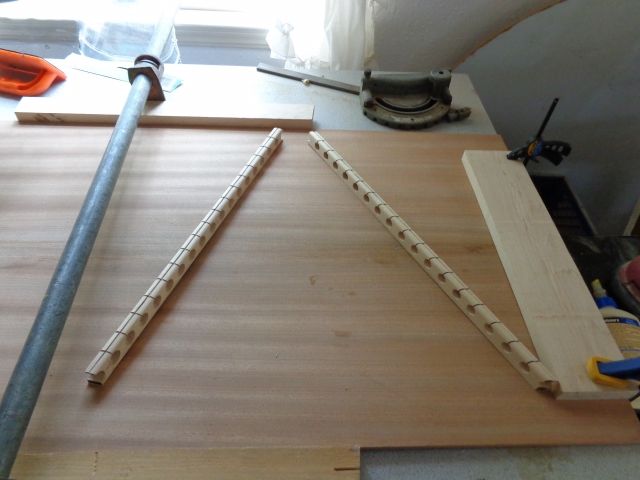
While I was thinking about how to drill all those holes, I decided to work on something simple...the bridges. The first one (bass) was a piece of cake, but it took four tries to get the treble bridge done.

Image

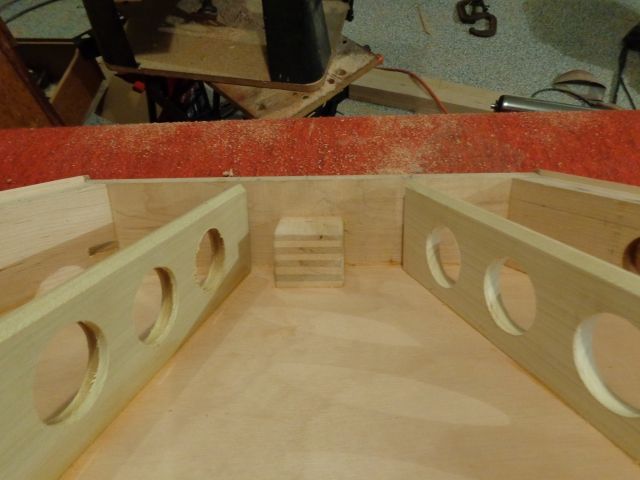
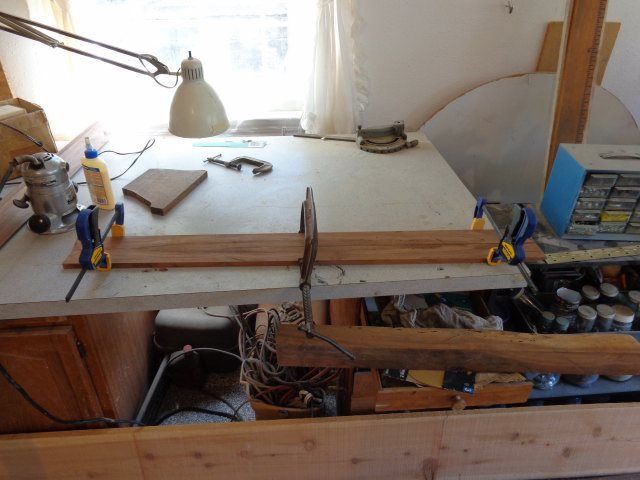
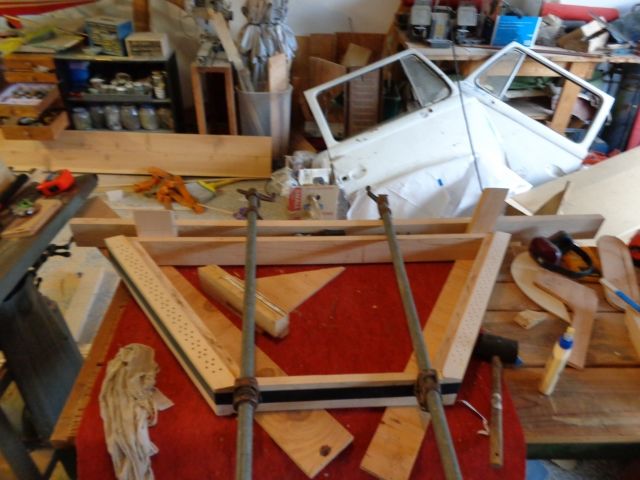
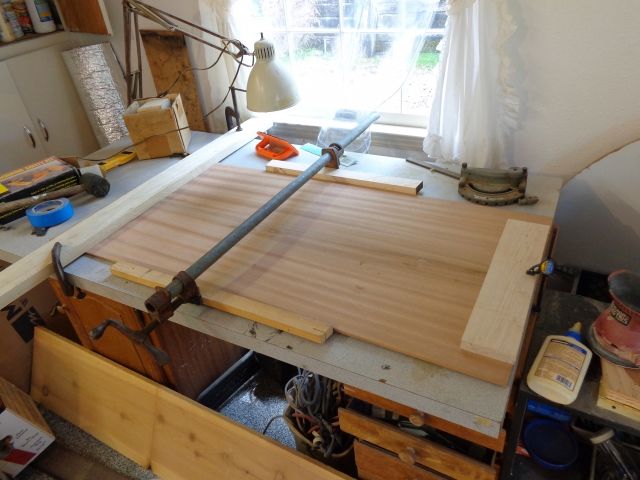
Here's a shot of the frame being glued up. Extra bonus points if you can figure out what those doors are off of.

Image

While that was drying, I took care of the bridge braces.

Image

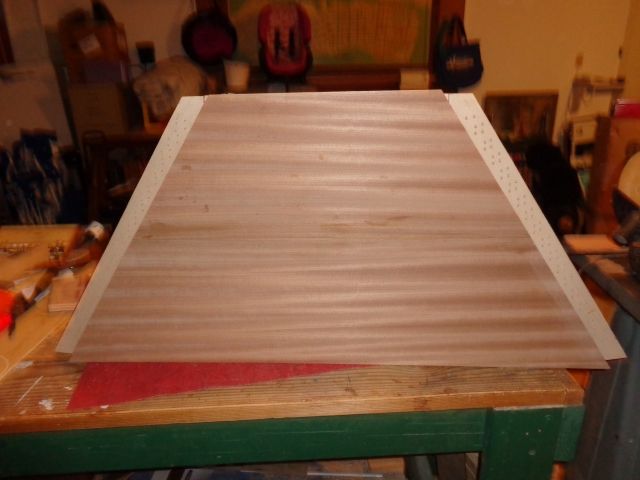
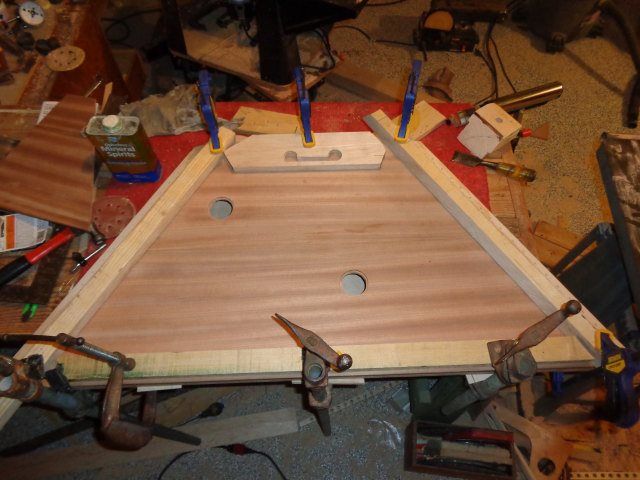
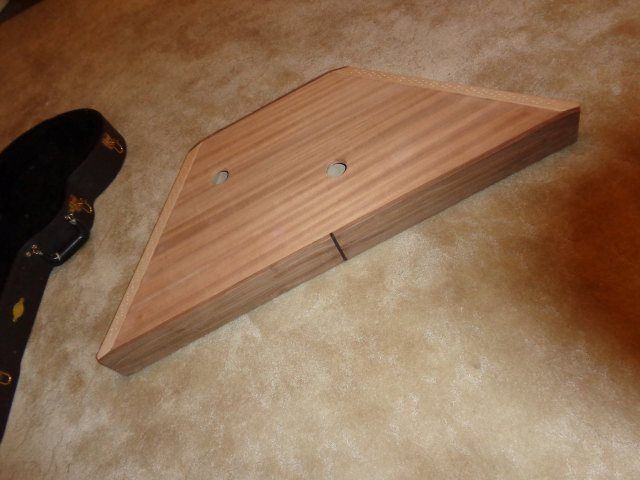
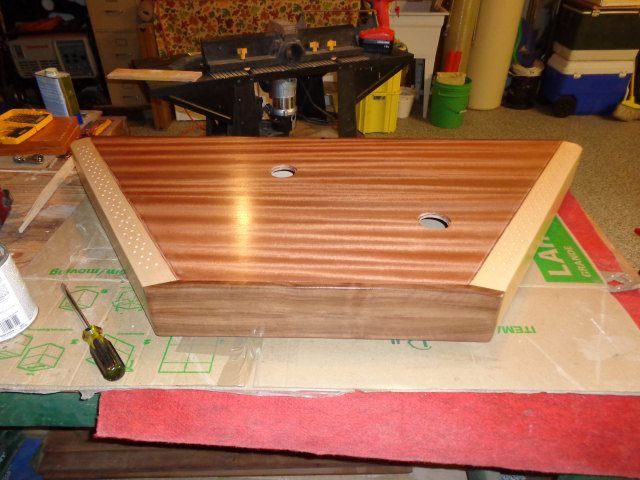
Next I cut and fitted the bottom (marine grade Okoume 1/4" ply) and glued it up. (BTW that isn't a gap on the left corner but a shadow from where the short rail is a little proud).

Image

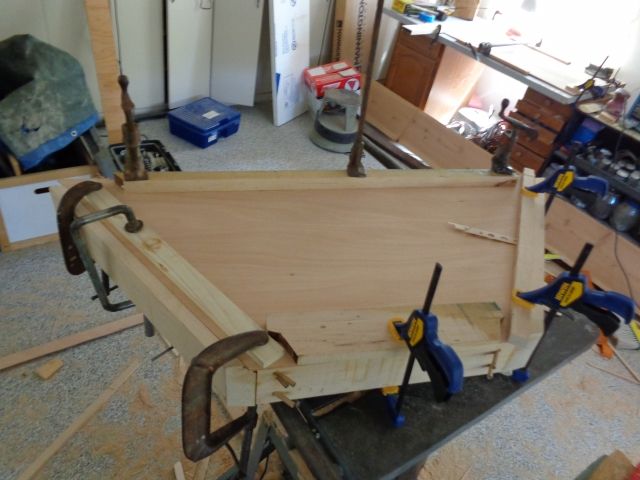
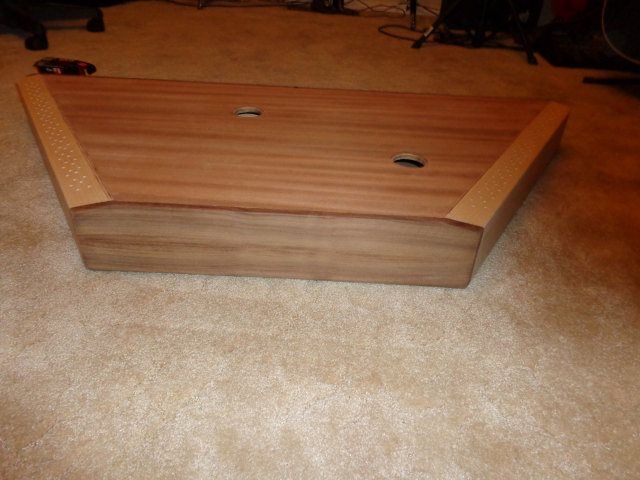
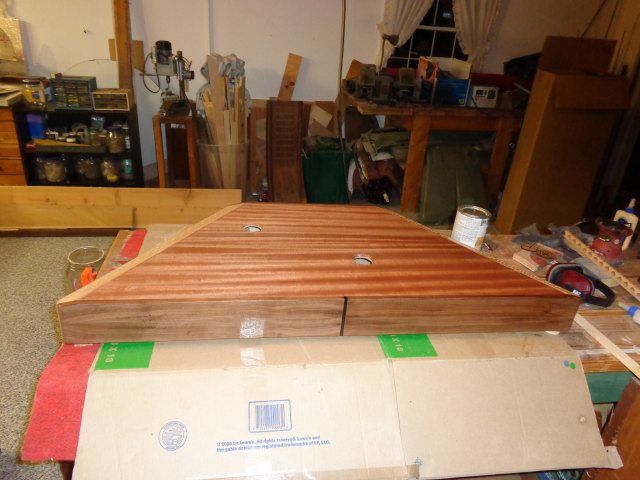
Then I glued up the top.

Image

Well that's as far as I got this week. I'll post the rest of it next week (God willing).
ken axe
Posts: 17
Joined: Mon Sep 02, 2013 11:17 am

Re: Building my first Hammered Dulcimer

Post by ken axe »

Here's an update...

Glued in the bridge braces and the laminated block for the leg insert.

Image

Image

Here's a close-up of the block.

Image

Just to be safe I ran a couple of oak dowels into it.

Image

Trimmed up the bottom and added a hand hold along the long rail.

Image

That big gash has me a bit ticked!

Finally, I cut and fitted the top.

Image

Tomorrow I'll cut the sound holes and glue the top down. I spent most of today testing the idea of using hole cutters to cut the sound hole and the lip for the rosette. The 2-1/8" one is a bit too small and the 2-1/4 one is a bit too big. Tomorrow I will try to cut a test lip with my new router (It is amazing how much better they cut with good bearings in them :) ). If I don't like the way that works, I will use the hole saw and fill the gap with ebony sawdust. Almost there!
User avatar
Jon Whitney
Posts: 170
Joined: Fri Jan 20, 2012 1:04 am

Re: Building my first Hammered Dulcimer

Post by Jon Whitney »

Extra bonus points if you can figure out what those doors are off of.

I don't think they are from a DeLorean or an A/C Cobra, despite having the look of aluminum. Maybe it's just the lighting. I would guess an old Ford Bronco.

Oh, and the HD looks nice too.
ken axe
Posts: 17
Joined: Mon Sep 02, 2013 11:17 am

Re: Building my first Hammered Dulcimer

Post by ken axe »

Jon Whitney wrote:Extra bonus points if you can figure out what those doors are off of.

I would guess an old Ford Bronco.

Oh, and the HD looks nice too.
Old yes, but not domestic.

And thanks, I should be doing the finish this week. :D
ken axe
Posts: 17
Joined: Mon Sep 02, 2013 11:17 am

Re: Building my first Hammered Dulcimer

Post by ken axe »

OK here's where I'm at with this.
I got the holes for the rosettes cut with the router. They are a press fit which is good because I know I am going to want to put pickups in this at some point. That way I can hopefully pull the out to install the pickups without messing anything up. then I glued down the top.

Image

Then I glued up the at least 75 year old walnut for the caps on the rails. I inherited this stuff from my Grandfather along with most of the tools that use. It is special to me to have something that was his in this dulcimer. You can't see it in the pictures but the wood is a little bit spalted.

Image

While that was drying I drilled the holes for the legs.

Image

And installed the inserts. They are press fit with a little epoxy and a screw to keep things together. I really hope this holds up :)

Image

Then it was just a matter of two days of sanding to get it ready for the finish. Oh yeah and I built some hammers too.

Image

The long rail cap is made of four pieces bookmatched, but I didn't like the way the grain matched up in the middle so I added a piece of ebony left over from my first build (a Steinburger "V" that I never finished). That is the same ebony I used for the hammers.

Image

The short rail cap is just bookmatched.

Image

Visually this turned out very nice and I have a feeling that it is going to sound good also as it has a very sweet tap tone.

Image

Now "all" I have to do is the finish and string it :shock: Oh yeah and build and install the dampers...we're almost there!
ken axe
Posts: 17
Joined: Mon Sep 02, 2013 11:17 am

Re: Building my first Hammered Dulcimer

Post by ken axe »

Done! :lol: :D :lol: 8)

Got the finish done I choose to use satin urethane because I am familiar with it. I followed that with a couple of coats of paste wax.

Image

Image

Then it was time to string it up. I have to tell you that by the time I had it strung up, I was ready to string it up :twisted: As my dimensions were very close to Sam Rizzetta's Extended Range, I used his string gauge chart. This uses a lot of phosphor bronze which I have learned to hate as it breaks very easily. I think I threw away almost as much of it as ended up on the dulcimer. I also had fits with the loops slipping and ended up soldiering all of them.

However, I think it was all worth the effort as I ended up with an instrument that matched the tone in my head (very warm and sweet with a ton of sustain).

Image


The legs worked out very well.

Image

Image

And when they are off there is nothing hanging off the bottom.

Image

Heart felt thanks to Nicolas Blanton for all the help in designing this. You are awesome!
User avatar
Charlie Schultz
Site Admin
Posts: 1427
Joined: Fri Dec 23, 2011 6:53 pm
Location: St. Louis, MO

Re: Building my first Hammered Dulcimer

Post by Charlie Schultz »

Nice work Ken! I bet it sounds good too- I built one from Deb's plan years ago and folks always liked its sound.
ken axe
Posts: 17
Joined: Mon Sep 02, 2013 11:17 am

Re: Building my first Hammered Dulcimer

Post by ken axe »

Thanks Charlie, it does sound great but I found that the low treble course (B3/E3) was a little wonky using a .025 Phosphor Bronze string. I put a .030 wound string on and it sounds much better. I also have one pin that seems to be slipping that I may have to pull our and add some monofilament line to, but that one is also PB and I am out of that. So I guess that I need to make another wire order to make sure that I have spare strings and get the wound wire off of the treble bridge.
Post Reply

Return to “Other Stringed Instruments”