
Recently I've started my first build and I enjoy watching others build a lot so I thought I'd also post my progress here! I've wanted to build a violin or a classical guitar for a long time but as I had to quit playing I found it of little use. Roughly a year ago I picked up the bass and thankfully I'm playing again, so finally I have an excuse for building too! I 'redecorated' our spare room and made a nice workbench from an old IKEA desk and some cheap pine. So far I've been able to do everything on these couple square metres, I just hope our book collection will survive the immense amount of dust
Specs, as far as I have them; a neck-through single cut construction, hard rock maple and walnut neck, ebony fingerboard, flamed/curly walnut top and mahogany body, Aero Stingray pickup, Schaller bridge and Gotoh tuners, Aguilar OBP1.
Some pictures of the workbench and planning phase:


And starting off with... the pickup cover


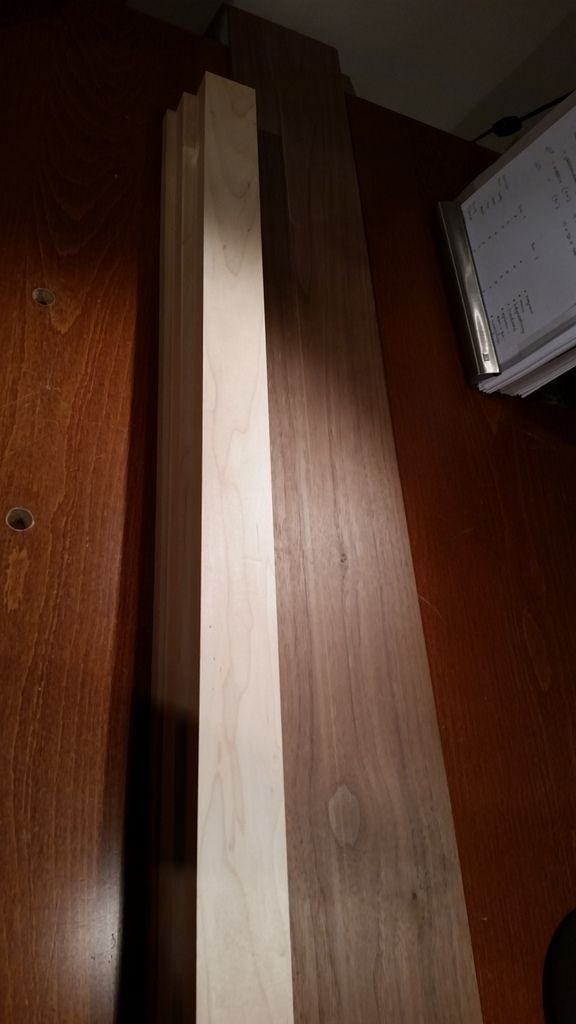
Next up working on the neck. Sawing and gluing, roughly sanding flush.
 [/url]
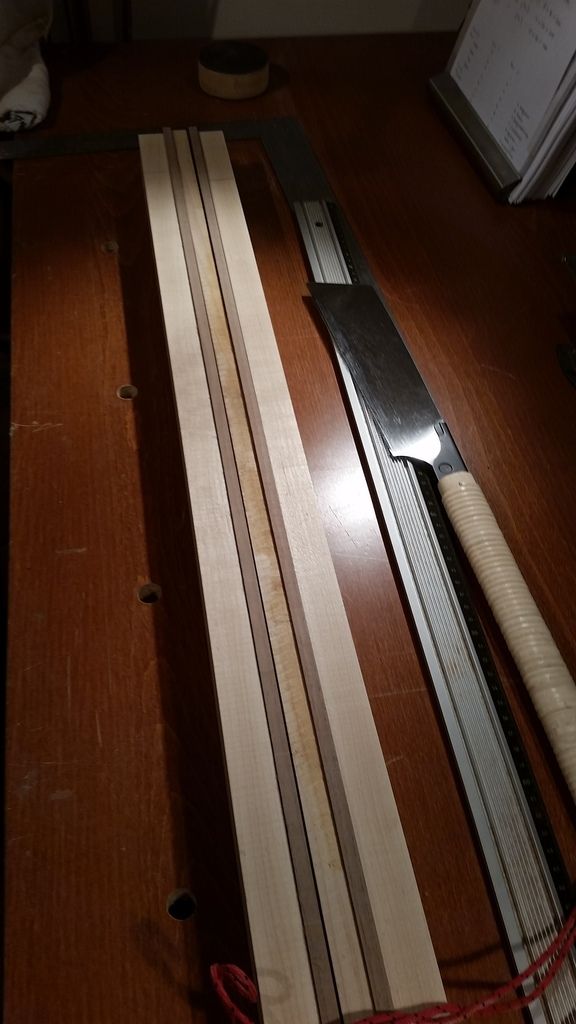 [/url]
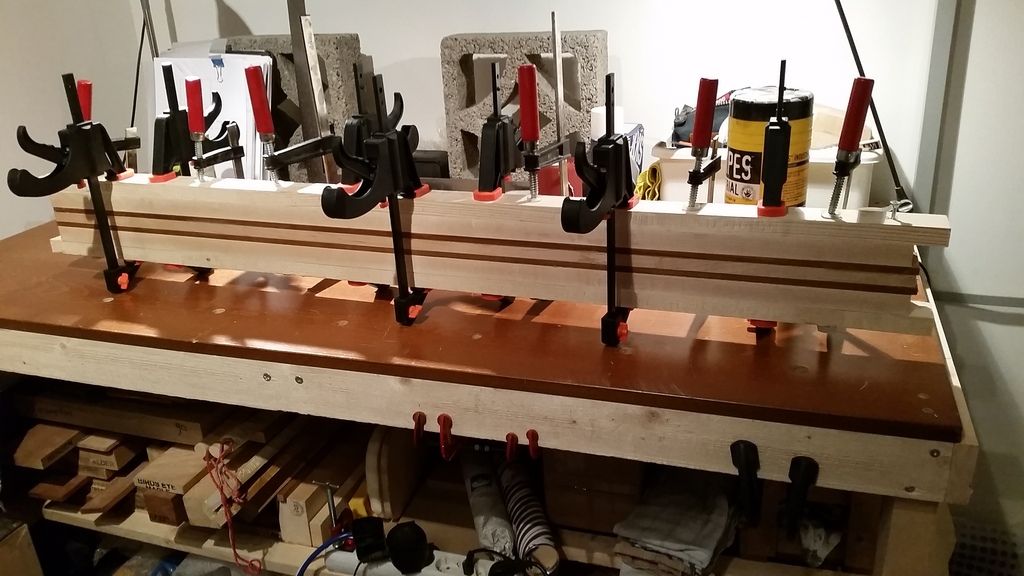 [/url]
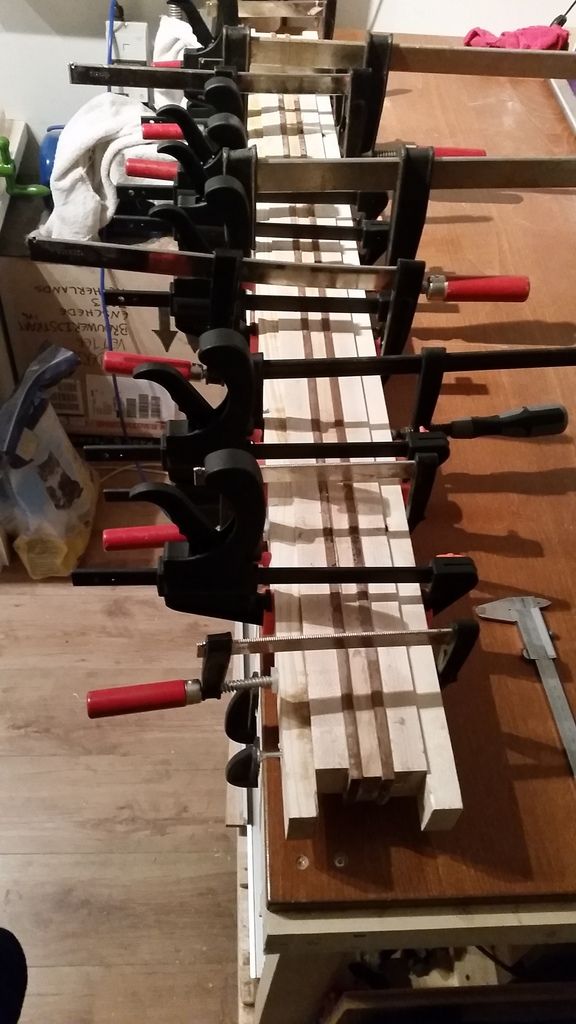 [/url]
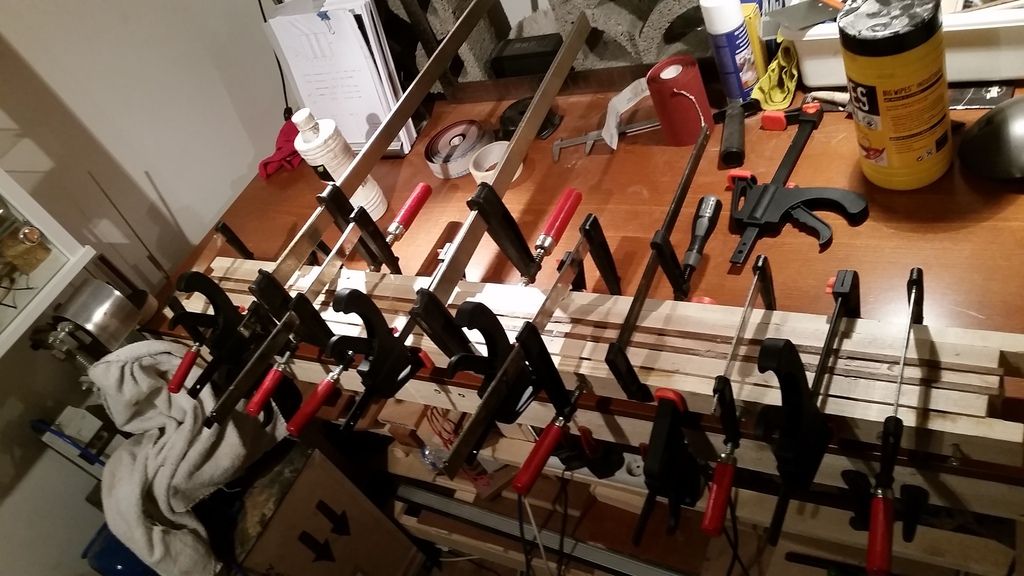 [/url]
 [/url]
I'm having issues with this top as it has a strong will of its own, it bends and cups like crazy. I tried a number of things but nothing really worked well.
 [/url]
 [/url]
The first curls, at last


So here it all went terribly wrong with the top, it bent so violently I couldn't get it clamped up properly so I pulled it all apart again.


Working on the body, trying to cover up some nasty router tearouts...


Profiling the fingerboard


Rough carving in the body, with the angle grinder


Thinning the headstock, very professionally

Neck carving - I really enjoy this. Tips on how to get everything as straight and even as possible however are much appreciated!


Well, so far so good! Hope you like it so far. I'm open to criticism though


